Friday, August 16, 2013

How to create a Box account to share your CCR files

Last week Katy created a  beautiful card for the New Product Blog Hop.


I loved the snow globe effect and she was willing to share the CCR file with everyone.  BUT what is the best way to share the file?  I use a Box account to share my files and then you do not have to worry about answering everyone's email request etc...


So I created a quick tutorial in how to post from a Box account...


The link to create a box account   Box link

Step #1 - Create an account - I am sure you all know how to follow the steps to create an account- EZPZ ladies!

Step #2 -Cick on the Upload icon and load your saved file.   My file is the Apple card file

Step #3 - Here is a picture of the card....

Step #4 - This is what the screen will look like....

Step #5 - Now share it on your blog post...

Step #6 -  In my post write-up I always say - You can download the CCR file here - I highlight the word here and then change it to a link just as you see below...


I hope this helps out all of you... if you do not have the Cricut Craft Room app, you can file it here....   It is free and saves soooo much paper!

Thursday, August 8, 2013

Moderating your comments--how to increase feedback and limit spam

Okay, we  all love comments, well most comments.  Those that are down right nasty or just spam, we can live without.  So how do you make sure you don't get some of the later?
Well there are a couple of ways
1.  When choosing "who can comment" click "registered user"  This will eliminate most spam type comments.
2. Under "comment moderation" click "Always".  This means that you will see the comment before it is published and can decide if you want to publish it.
3.  Under "word verification" click "no".  I know this proves you are not a robot.  But honestly, if you are going to moderate your comments, you don't need this step.  Personally, I rarely comment on those that have word verification.
See the screen shot for below.
I should mention that this is how it works with Blogger (google) not sure if it will be applicable to all blogs.

Picture tutorial for Deep URLS..

I am such a visual person,  I hope this will help the rest of you...

Please add your deep URLs by Tuesday p.m.  Thank you!  This is what I did to make sure Gina's link (from me) opened up to the correct post.


Then  I changed the link in blogger
I followed the same exact steps when I changed Terry's 'to' link.

****Please note if you person above and below you have already posted their correct link in the Final excel list - you DO NOT need to update it...  HTH

Intro for week 2


Welcome to Week #2 of the Artbooking in August Blog Hop. Last week's artwork was so phenomenal and this week over 35 creative consultants are at it again!


Their challenge was to create 4 different projects using the Cricut Artbooking cartridge and any CTMH paper pack.  Their mission was to design each of the following:

1. 2 page layout 
2. Card
3. Mini Book 
4. Home decor or 'giftable' item 

They were able to choose what to make and when to post it. AND if they wanted to add stamps to their designs, that was OK.  This week they will add another great design to the challenge and I am anxious to see what everyone has created!

Remember this is a circular blog hop and if you get lost or confused along the way, the list is posted on Adeline's blog here.


Feel free to add any other information you would like...

****Notice - I made the link larger and in color ...this small change makes it so much easier to read all the other information.

Also - one of you had highlighted the example of the 4 designs - what a great idea!!


1. 2 page layout 
2. Card
3. Mini Book 
4. Home decor or 'giftable' item 

I hope I covered everything - feel free to comment to add additional information!

Monday, August 5, 2013

A few updates to our first post

Great job for the first round - only a few hiccups!  By the last week we should be pros!

1.  Please make your links more visible - I always make them larger than the normal text and change their colors so they are more visible.

2.  How to add a deep URL - click on the title of the blog post and copy it to your computer.  Then highlight your link and change it to the deep URL.


Here you can see I added Gina's deep URL..

3.  Please uncheck the box "Open this link in a new window" - this will eliminate all of the multiple windows open as you hop along...

Please add any other information in the comments below if you think of something else.

Thank you!!

Friday, August 2, 2013

Final intro for my blog

You are welcome to use this or create your own...


Are you ready to get creative??  Let 40 talented CTMH consultants inspire you with their creativity this month.   Each Monday in August, these ladies will be posting artwork to their blogs and you can follow their blogs or set your alarm to make sure you do not miss a post!

Their challenge was to create 4 different projects using the Cricut Artbooking cartridge and any CTMH paper pack.  ( yes - we all have retired paper packs in our 'stuff' and this cartridge is perfect for using up paper!!)  Their mission was to design each of the following:

1. 2 page layout 
2. Card
3. Mini Book
4. Home decor or giftable item 

They were able to choose what to make and when to post it. AND if they wanted to add stamps to their designs, that was o.k.  You will not want to miss any of their totally awesome and fantastic artwork!!

If you have any questions please send me an email....

Saturday, July 27, 2013

Artbooking in August Week 1 Final Information

Holy Moly - (I seem to using the phrase quite often these days.!.. ) I am not one to give up easily on a new challenge and so I am plugging along  trying to get this right!

Here are the guidelines for the hop...

For categories we will follow.... 


1. 2 page layout (since that is what separates Artbooking from the single page Provocraft ones)
2. Card
3. Mini Book
4. Home decor or giftable item (think pillow boxes, treat tubes, gift bags, etc. anything but a card, book or layout)


You will create 4 different projects following the guidelines above and then post them on the following nights by the deadline - be sure to check your time zone...

Remember you get to 'mix' up the artwork each week - in this way - our followers will be excited to see what everyone has created....

Do the best job you can 'spicing' up your artwork and add the watermark ( so I can post on Pinterest)  Please follow the guidelines and post according to this information...

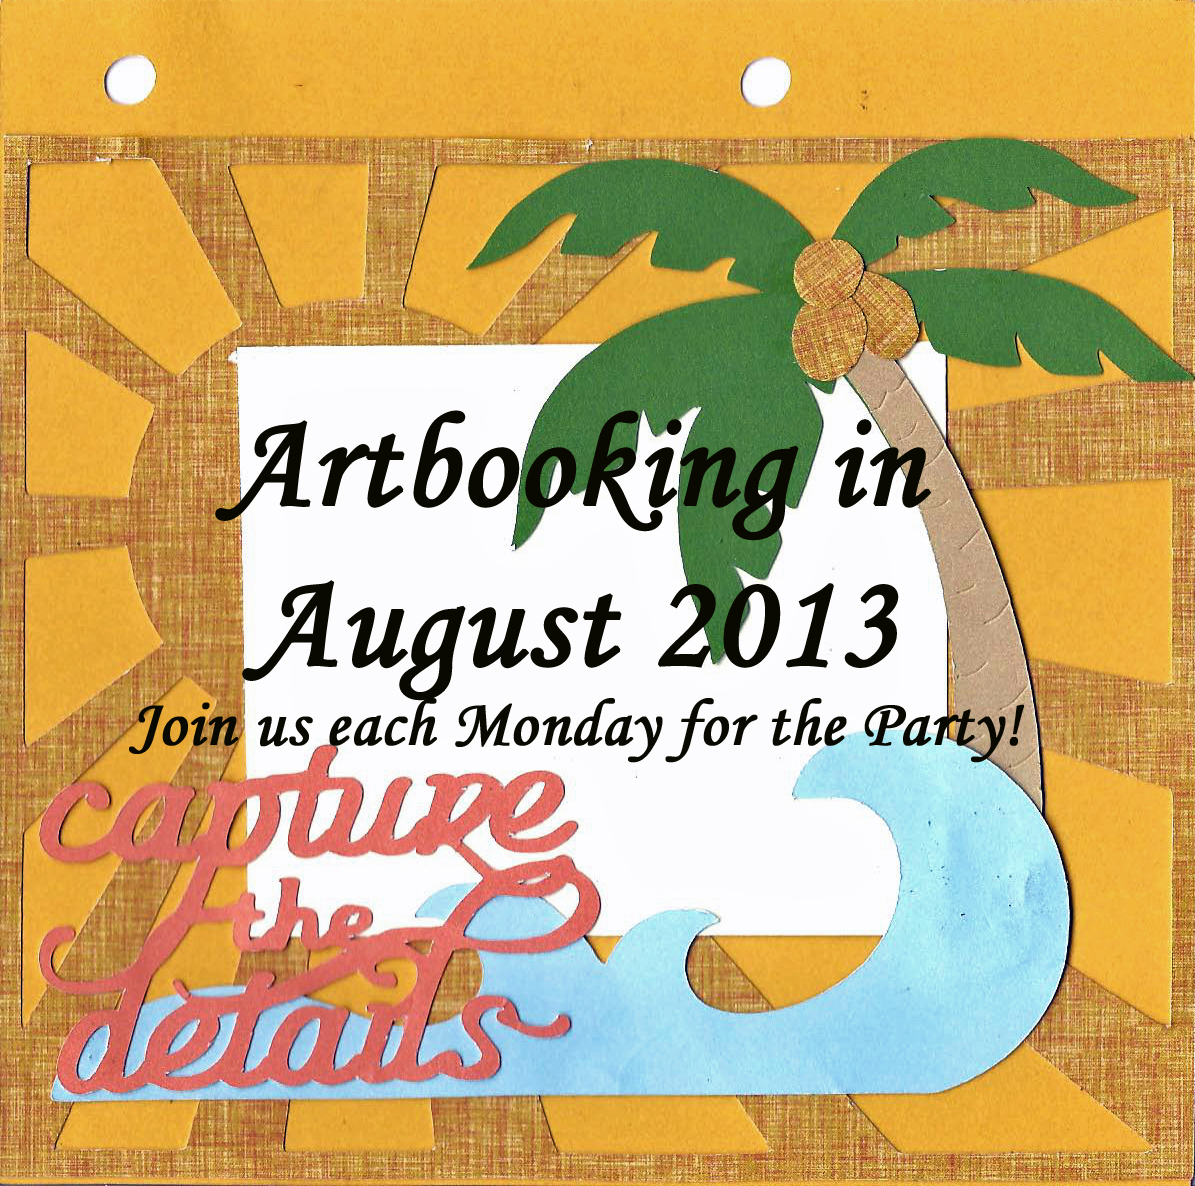
Artbooking in August #1  -- on Sunday night August 4th - 9:00 EST 
Artbooking in August #2  ---on Sunday night August 11th - 9:00 EST 
Artbooking in August #3  ---on Sunday night August 18th - 9:00 EST 
Artbooking in August #4  ---on Sunday night August  25th - 9:00 EST 

For the first week we will follow the alpha order of the file by last name .....SO for example I follow Gina Brandsetter and link to Terry Diack....make sense?

Not all of the ladies sent me their weekly links but that is OK - I will remind everyone to add your deep URLS within a few days with a quick email reminder...

I added a short tutorial in how to 'spice' up your photos and thanks to Shalana for her card that I used as an example! - It was an awesome card!  If you need help, just let me know...

WE have ONE WEEK to work out all of the bugs - we can do this!!

Friday, July 26, 2013

Another great card design!

Ok - this may not sound 'kosher' but I copied Shalana's original photo from her blog and 'cleaned' it up a bit and added her watermark - less than 5 minutes in PicMonkey!


Here is her original picture....

Step #1 - I cropped the photo to make it into a closer view of her artwork.

 #2 - I rotated her photo slightly so it would be level.

#3 - I sharpened the image 


#4 - I added her 'watermark'using the text box.


#5 - I added some "Frost" effects and it was done!  I didn't like it so I removed it....

Here is her finished photo!


If you are totally uncomfortable with taking the pictures etc. - just send me the photo and I will fix it up!


LOVE this card!!

Tuesday, July 23, 2013

Another FAB-u-lous 3 D project

Check out this awesome 3 D album by Kim Hill!


Check out the rest of the photos here and get ready to cut lots of paper!!

Monday, July 22, 2013

A great 3D project!

If you are having a hard time coming up with your 4th project for this blog hop, check out Emily's inexpensive make-over!  How cute is that?!!


You can see the details on here post here...

Permalink--a way to share your deep URL before we go live

Thank you,Terry for this added information!

How to add permalink
This is actually very easy.

1.Create your title for your blog---I am going with 
Artbooking in August #1   ---publishing at 7pm on the Sunday nite (Aug 4)
Artbooking in August #2  ---publishing at 7pm on the Sunday nite (Aug 11)
Artbooking in August #3  ---publishing at 7pm on the Sunday nite (Aug 18)
Artbooking in August #4  ---publishing at 7pm on the Sunday nite (Aug 25)

I used the same title and just changed the # -but you can use whatever you like

e.g. Cards--Artbooking in August

After I have created the tile I open the link and copy and paste the permalink
You can go back and change and edit the content of the blog post but NOT THE TITLE
This is how it works in blogger, not sure about other blog sites.


You can also go in and add labels to your post.  

with that said here are my four permalinks for the month

Artbooking in August #1   ---publishing at 7pm MST on the Sunday nite (Aug 4)

Artbooking in August #2  ---publishing at 7pm on the Sunday nite (Aug 11)

Artbooking in August #3  ---publishing at 7pm on the Sunday nite (Aug 18)

Artbooking in August #4  ---publishing at 7pm on the Sunday nite (Aug 25)


to confirm that you have got all your duck in a row
your :"post" page should look something like this


Inline image 2Hope this helps make things a bit clearer.

Now all I have to do is go back in and "edit" each post with my creation for the week.
Terry Ann Diack

Sunday, July 21, 2013

Final Blog Hop Information

Please send me your blog address ASAP so I can add you to the database. There are less than 10 ladies who I have not heard from - some are probably on vacation or busy with 'life'!

Me- I procrastinate and I have to 'quit' this habit and right now it ranks up there with ........diet coke!

Our "go live" time is Sunday at 9:00 p.m. EST - the same as the other blogs I participate in...makes it less confusing for some of us :)

I have invited Terry Ann Diack to post the 'how-to' for her suggestion on setting up the posts on your blog post as to how to create a permanent link. This step will prevent you from having to go back and add the deep URLS each week...

SOTM bloggers have 3 days to post deep URLs - I usually change mine later that night so I do not forget...

I am so excited!  AS of right now we have 25 CTMH ladies participating!! and the blog info is still coming in.....

Back to cutting up paper....

  P.S.  Has anyone figured out yet what to do with the negative pieces???  Seems like such a waste....

My mat is getting a bit beat up and the blade may need to be replaced soon... PLUS an abuse complaint has been reported to the Cricut hotline!!!

who needs this......

Thursday, July 18, 2013

Artbooking in August Blog badge

I created this blog badge for our sidebars...  Now I have to figure out how to share it with everyone!!.......well I ate dinner and started back at it again...

 photo 8f5f4811-64e4-4619-8f01-09b1844fd35c_zps7ffac729.jpg


Here is how to change the code for your website... from corp.... In other words, where the code says www.adeline-brill.blogspot.com - change this to your blog URL!  Clear as mud??  Not to me either...  But when I clicked on the Badge Button in the sidebar, it went directly to my blog... 


Here is the original jpg.  I thought you could post this on your blog instead of the Blog badge...just save the picture and insert it like you normally would add photos to your blog...

So any other ideas???

Artwork Information

#2 - Artwork guidelines -Photos are NOT required...

For categories we will follow.... 
1. 2 page layout (since that is what separates Artbooking from the single page Provocraft ones)
2. Card
3. Mini Book
4. Home decor or giftable item (think pillow boxes, treat tubes, gift bags, etc. anything but a card, book or layout)

You will make ONLY 4 projects - one for each category and post in whatever order you would like - one for each Monday.


(This will give give us a 'rockin' selection' of artwork -TY Paige for the wording-  each week )

***Please note that you may stamp on any projects but please use current stamp sets - good until the end of the year. 


I am also going to add to please try to use the paper found in the NEW Idea Book BUT if you use Later Sk8tr or Buzz and Bumble etc. or any other of the paper packs, please note that it is no longer available.

WHY? .... because we all have paper we need to use up.. right?! 


Here is a camping layout I created using the "Back Country" paper pack from my archives...


Supplies:

Z1906 Cricut Artbooking Collection and stamps - Summertime layout pg. 66


Paper pack is "Back Country" - no longer available
A1127 - A Journey
Colors include Olive, Outdoor denim, Barn Red and Desert Sand.
Markers used to create the 'fire' look - Honey and Autumn Terracotta

HTH....


Artbooking in August - TEST

Welcome to "Artbooking in August "Linky Party!  This is my first finished layout - I have to do the other side as well....
   
I added Deb Killian as my  test post.. and the link takes you back to her blog....

OK - now help me figure out the BEST way to do this...  plz...

Have I confused you??

So sorry!!  This blog is only for communicating within the group of 40 women...  lots of creative people here...  i thought it would be a great idea to share our comments, pictures etc.

Currently I am working on a retired paper pack called "Back Country"  - the artbooking cartridge is definitely a stash buster!!  Then we will have a trial run with Mr. linky and see how it goes - if it is too confusing - we will go to the regular hop format...

Look for more information later this afternoon - if my CTMH would arrive today - I would be soooo happy - the Camping stamp sets on in it!!  Then I could add the stamp images to give you an idea of what my 'drugged' brain is working on.....

Adding a Watermark to Your Image for Pinterest with PicMonkey


Check out this video I found on You Tube -  adding your own watermark - at the 2:00 minute spot is how I type in my information...

**alt plus   0169 = shortcut key for ©


My watermark is in the upper right hand corner.... changed the color to white....

Welcome ladies to the EVENT of the season!

I am so excited to share with you that we have about 40 ladies who are going to push the limits of their creativity and participate in this 'linky party'!

Marie Flayer suggested a Facebook group but I decided to create a new blog and not share it with anyone except this group.  I hope this idea works!  

Here are a few basic rules....

Here is an 'copyright free' image from the CTMH Image gallery 
                                   

#1 - I would like to ask everyone to please use the 'copyright free' images from CTMH.  TY...  


The Cricut pages -  TY ...Paige Dolecki, she has posted on her blog are OK - I checked with corp...It seems they are up on the Cricut blog....


Of course all of the artwork you create will be have your watermark on them- If you need help with that - let me know!!

Artwork is done by one of my 'students'....

I created this in PicMonkey - easy and free photo editing program here.  Don't worry about signing in - just start with your photo!  If you get stuck,  just send me your pictures and I will help you with it.

If you have any questions about posting pictures, please share with the group and we can all help you!